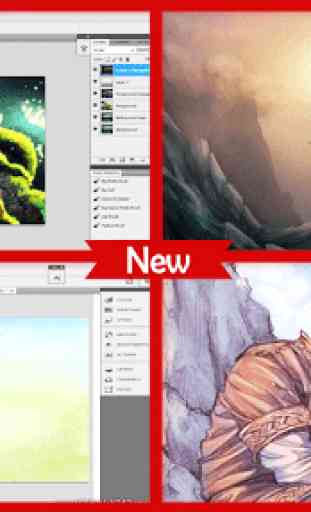
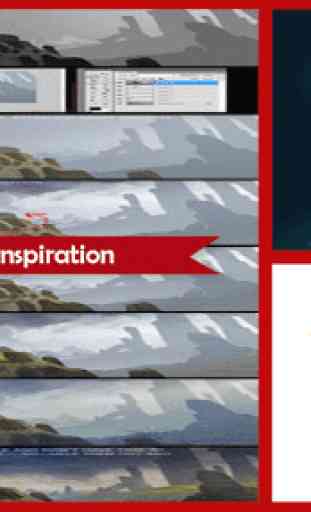
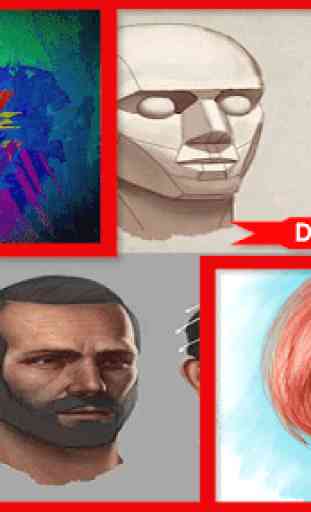
Digital Art Tutorials Photoshop
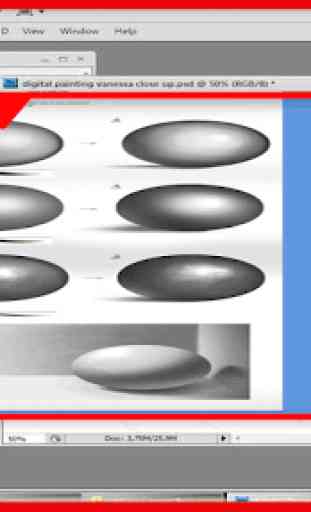
Computerized craftsmanship is winding up progressively prominent among numerous specialists. With highlights that are novel to this medium, it's not hard to clarify its prominence. To make advanced workmanship, you'll require a PC, a program that takes into consideration computerized drawing, and a tablet. At that point, subsequent to taking in the essentials of computerized craftsmanship, and getting a lot of training, you'll be well on your approach to exceeding expectations at advanced illustration. Outline out your thought on paper. Unless you don't have a scanner, this is the most ideal approach to begin. Attempt to get the life systems and physiology of your subject as close as could be expected under the circumstances, however don't worry, as alterations can be made later. Try not to include excessively detail, for example, hide or garments surface at this time. Make certain to utilize pencil in the event that you need to settle botches. Sweep your illustration. Place your illustration look down on the scanner. Close the scanner and after that begin the sweep. Name the document once it's done filtering and spare it as a .PNG or .JPEG for the most elevated quality. Open the record in whatever program you need to utilize. GIMP is useful for amateurs since it is allowed to download. It's most likely not a smart thought to utilize Microsoft Paint on account of its restricted highlights and difficult to see canvas. Many individuals utilize Adobe Photoshop for making advanced craftsmanship. Layout the illustration. On each layer you've made, begin illustrating the outline with the brush apparatus. Set the brush to a little size like 2 to 4 pixels. The layout will make things less demanding to shading later on. In this progression you can likewise settle any life structures botches that you made while outlining. Get the fundamental hues in. After you've laid out your illustration, you'll have to portray out the shades of your illustration. Utilize brushes of shifting sizes, contingent upon how huge of a range you're filling in, and shading in all the diverse areas of your illustration. Simply utilize a solitary shading for every territory, similar to the face, hair, and each piece of attire. Whenever completed, make certain to combine every one of the layers. In the first place, spare a duplicate of the document with the goal that you can backpedal and deal with it all the more later in the event that you pick. Since .PNG and .JPEG can't deal with them, you'll need to consolidate all layers into one keeping in mind the end goal to spare in those arrangements. Fare the document. Go to document, and spare as. Spare the record as a .PNG or .JPEG. On the off chance that you ever need to backpedal and change something in the illustration, you can open the .PSD document, or whatever record sort the program you have employments.
Category : Art & Design
Related searches
Reviews (11)
Cyb.
Aug 12, 2020
Simple garbage and useless. Wish there was 0 star.
IEL. H.
Sep 24, 2020
A total waste of an app
Anu. A.
Sep 18, 2018
There is no tutorial. Waste app
Jan. L.
Nov 12, 2018
I have a lot of things to do so
rab. s.
Sep 14, 2020
Waste... Don't install
Bis. P.
Jun 4, 2020
Is this a joke?
Fah. R.
Jun 3, 2020
Useless app
Ken. D.
Apr 21, 2018
You are a fool like me if you installed this app
San. J. T.
Jun 29, 2018
This doesn't contain eny tutorial....just another wallpaper junk
sha.
Aug 7, 2018
This is complete click bate. Don't install this if you ate looking for tutorials. It's false advertising.
Its good art just that there isn't any tutorials or tips